If you’re considering a robotic positioner, you have probably already looked at several different models. You’ve probably seen single-axis turntables, double-axis positioners, and multi-axis ferris wheels. You’ve probably explored different brands, styles, and price ranges.
 How Many Axes Does Your Robotic Positioner Need?
Alex Owen-Hill | RoboDK
You’ve decided that you need a robotic positioner… but how many axes do you need?
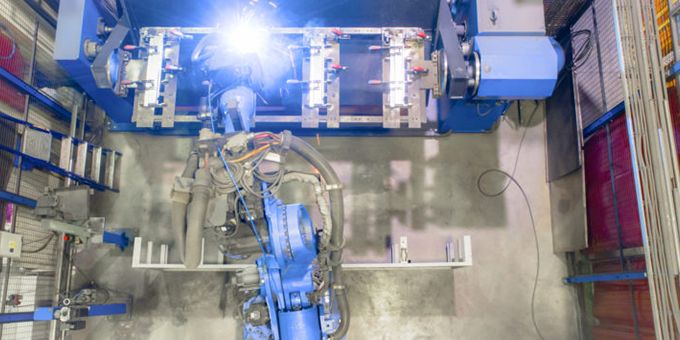
There are so many models of positioner with so many different styles. Some have 1 simple axis but others have many!
What’s even more confusing is the range of configurations that positioners can have. Axes can be mounted vertically, horizontally, and at any angle in between.
Picking a positioner with too many or too few axes could mean a wasted budget; But how many is too many!?
If you’re considering a robotic positioner, by now you have probably already looked at several different models. You’ve probably seen single-axis turntables, double-axis positioners, and multi-axis ferris wheels. You’ve probably explored different brands, styles, and price ranges.
By now, if you’re honest, you’re probably starting to get a bit sick of positioners.
The problem with positioners is that it’s not just a simple case of saying “I’ll buy this one” and leaving it at that. The positioner you choose will affect how easy it is to integrate and program your robot cell. You don’t want to pick the wrong one and give yourself a harder time than necessary to deploy and program the robot.
For example, if you were to get a 5-axis positioner with a 6-axis robot, that’s 11 axes you need to control! If it’s necessary to have that many axes, fine. But, if it’s not necessary you may regret your purchase.
Why “How Many Axes?” Is a Confusing Question
Asking how many axes your mechanism needs is a very natural question. However, it’s a tricky question to answer satisfactorily.
When we’re talking about industrial robots alone, a common answer is to say that 6-axis robots are required. This is not always true but it is true most of the time. The reason for this is that 6 axes are needed to reach points in the robot’s workspace from any position and orientation.
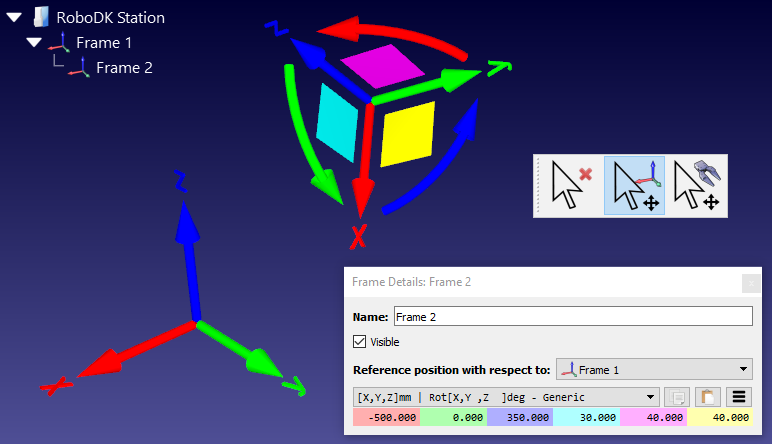
As we explained in our Euler Angle Primer, the position of a robot’s end effector is controlled with 6 parameters: 3 translational parameters (X, Y, and Z) and 3 rotational parameters (Rot[X], Rot[Y], and Rot[Z]).
If your robot has fewer than 6-axes, you will be restricting the flexibility of the robot. This makes sense for some robots — e.g. palletizing robots which only need to approach objects from above. However, in general, 6-axis industrial robots are the most useful for a wide range of tasks.
Beyond the 6-axes, however, your mechanism becomes “redundant.”
“A manipulator is termed kinematically redundant when it possesses more degrees of freedom (DoF) than it is needed to execute a given task.” Prisma Lab
For example, 7-axis robots can reach the same points in their workspace as a 6-DoF robot. However, the control of a redundant mechanism becomes more complicated. As a result, you don’t want to add extra DoF if they are not needed.
Adding a positioner means adding more DoF to the robot. This may or may not lead to a redundant system.
Whether you need extra DoF depends on the specific needs of your task.
7 Steps to Identify The Number of Axes Needed for Your Application
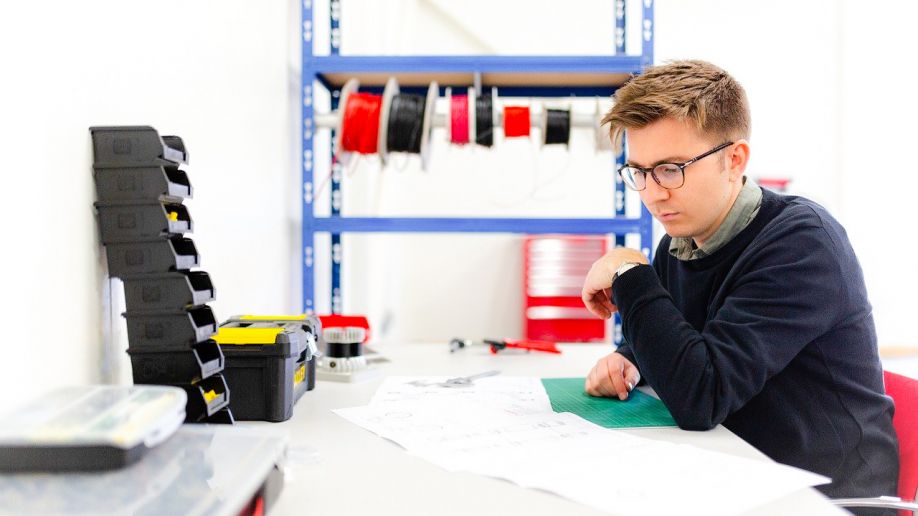
The way to hone in on how many axes you need is to look more closely at the requirements of your application.
Here’s a process you can use to identify some potential positioners that could work for you. It allows you to zoom in on a few potential models and assess them properly. If none of those options are suitable, you can then zoom out again and use the information you’ve learned to pick a better positioner.
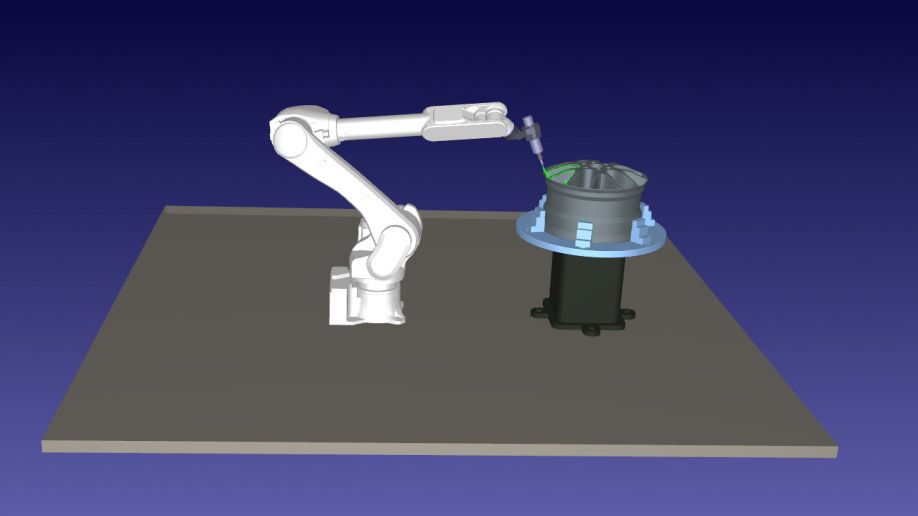
- Look at the requirements of your task, focusing particularly on the workspace that is needed. One good way to do this is to build your application within a robot simulator.
- Note which aspects of the task are not possible when using the robot alone. Which parts of the workspace are unreachable? Which motions are impossible?
- With this information, make an educated guess at one or two types of positioner that might suit your needs. Remember to take into account the payload that is required to hold your workpieces.
- Find some positioners on the market that could meet your criteria and test them out in your simulation. For each positioner you try, make sure to save your setup as a new project as you will come back to one of the projects later.
- If one of the models works perfectly, great! Even so, test out a few options to see what properties are really required. Remember that you don’t want to end up with more DoF than you need.
- If none of the models works for your application, use the information you have gathered to refine your requirements.
- Go back to the market and look for one or two models that meet these new requirements. Test again in your simulation before making your choice.
Using a process like this removes some of the guesswork from identifying the right number of axes. With each test in your simulation, you learn a little bit more about what you really need from a positioner to complete your task.
Make a Choice and Work With It
Once you have zeroed in on a model that works for your task, you can move forward and develop the application more thoroughly in the simulator.
Open your saved project with your chosen positioner and refine it into the full application. This will allow you to test all aspects of the task and prepare the application for easy integration.
Once you’ve purchased your positioner, you don’t need to be concerned about whether or not more axes could have benefited the task. Robots are very flexible and there are usually multiple ways to achieve the same actions with a single robot.
If you encounter any problems when you’re deploying the robot, you will almost certainly be able to find a solution using the equipment you have. This is the value of making purchasing choices using a simulator as a testbench.
The content & opinions in this article are the author’s and do not necessarily represent the views of RoboticsTomorrow
Comments (0)
This post does not have any comments. Be the first to leave a comment below.
Featured Product